Roses are the rock stars of the garden world, admired for their beauty, fragrance, and ability to turn even the simplest garden into a romantic haven. If you’ve ever dreamed of growing your own roses from scratch, you’re in luck. Whether you’re a newbie with a green thumb or a seasoned gardener, learning to grow roses from cuttings can be a fun and rewarding experience. Plus, it gives you an excuse to use words like “horticulturist” without sounding pretentious!
This guide will walk you through the process of growing roses from cuttings with tips so detailed even your roses will feel enlightened. By the end, you’ll be a propagation pro, ready to fill your garden with stunning rose bushes that will make your neighbors green with envy. Or, you know, greener than your garden and learn How to Grow Roses from Cuttings.
Table of Contents
1. Understanding Rose Propagation
What is Rose Propagation?
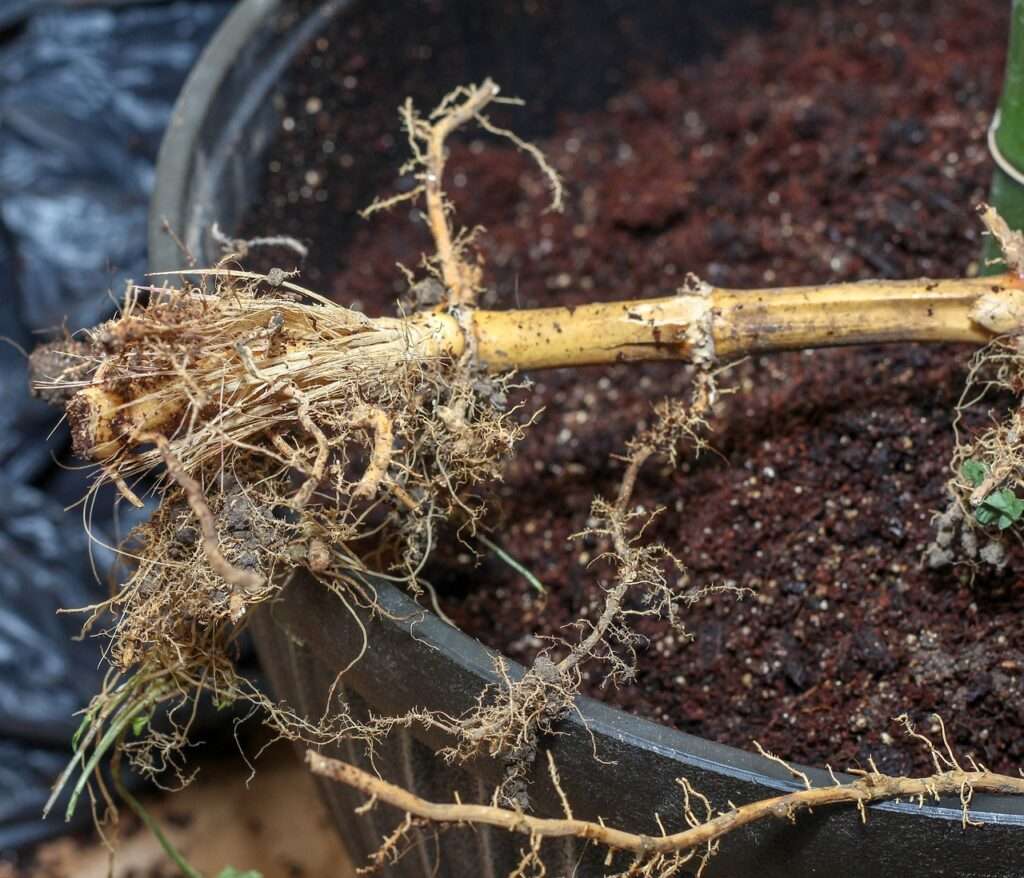
Rose propagation is like making a photocopy, but for plants. And unlike that time you photocopied your face at the office party, this will yield beautiful results. This horticultural technique involves creating new rose plants from existing ones. Among the various propagation methods like seed propagation and grafting, growing roses from cuttings is the easiest and most straightforward. Basically, you’re taking a bit of a rose stem and coaxing it to grow roots and eventually bloom into a new plant. Talk about plant magic!
Why Grow Roses from Cuttings?
Why should you bother with rose cuttings, you ask? Well, for starters, it’s like cloning your favorite rose plant, ensuring the new plant has the same fabulous looks, scent, and personality. Think of it as creating a mini-me of your prized rose without the complicated sci-fi machinery. It’s also cheaper and simpler than grafting, plus it’s a great way to impress your friends at garden parties. And let’s be honest, who doesn’t love a good plant cloning story over cocktails?
2. Preparing for Propagation
Selecting the Right Rose Cuttings
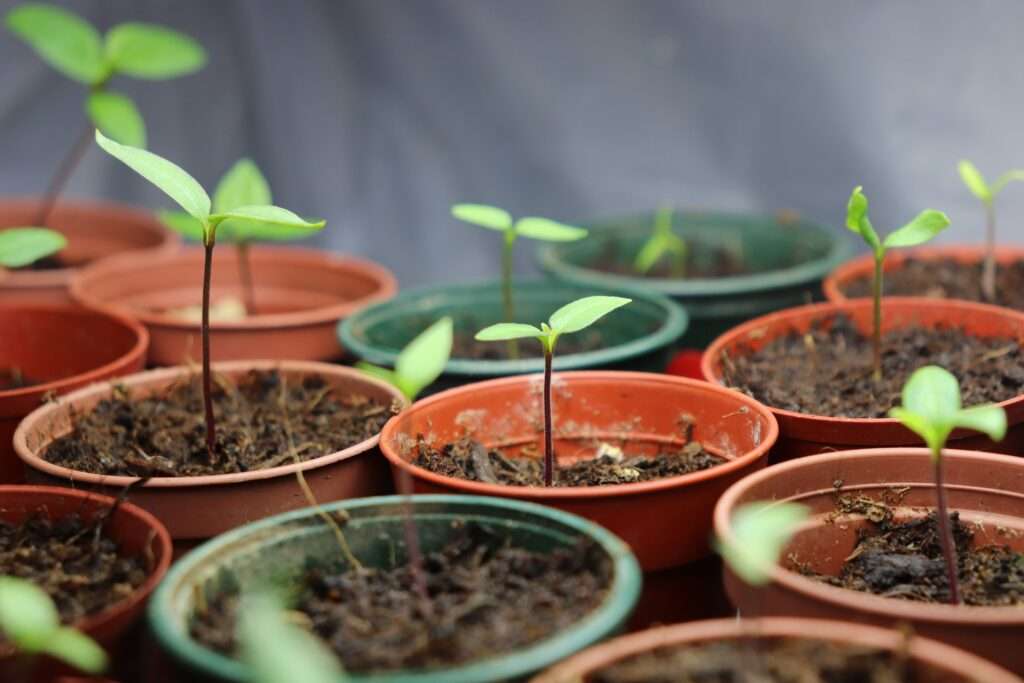
Picking the right cuttings is crucial. It’s like choosing the perfect avocado—too ripe, and it’s mush, too green, and it’s rock hard. Look for healthy, disease-free stems about the thickness of a pencil with three to four leaves. The best time to take cuttings is late spring or early summer, when the rose plant is in its prime growing mood.
Avoid stems that have recently bloomed—they’re like the tired marathon runners of the plant world and might not have enough oomph left to root. Instead, go for stems that are green and slightly flexible. And don’t be shy—take a few cuttings to increase your chances of success. Just like dating, the more options, the better your odds!
Tools and Materials Needed: How to Grow Roses from Cuttings?
Before you dive into the world of rose propagation, gather your gear. Think of it as suiting up for an epic gardening adventure. Here’s your checklist:
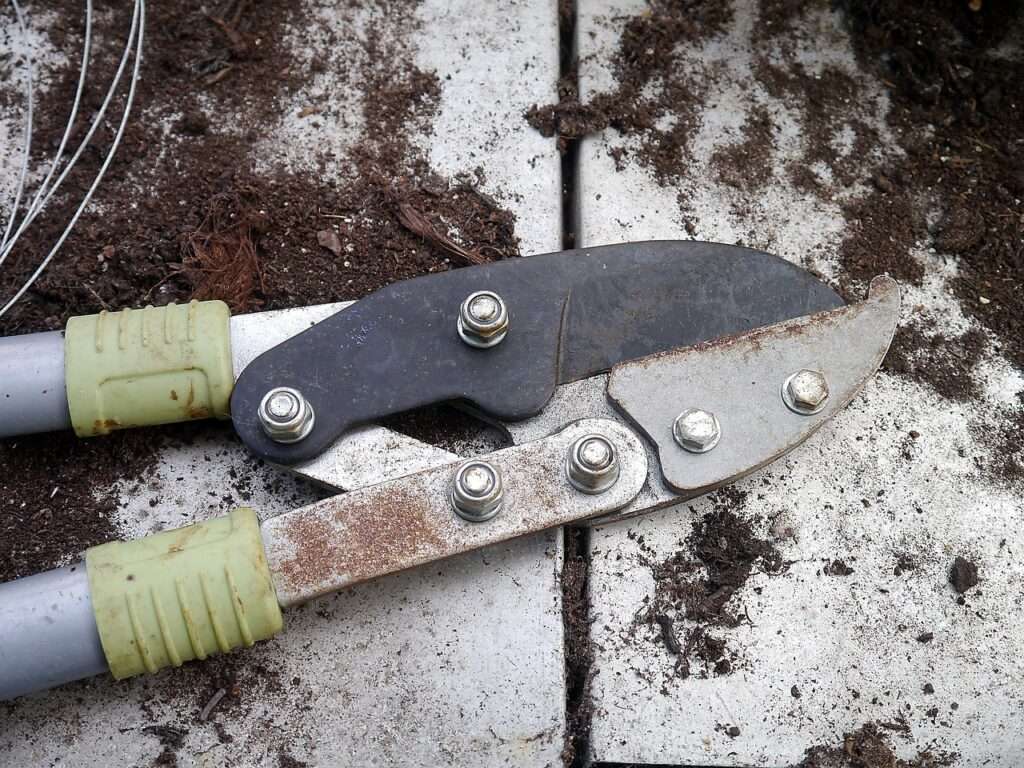
- Sharp, clean pruning shears or a knife (because you don’t want your cuttings looking like they were chewed off by a squirrel)
- Rooting hormone powder or gel (the secret sauce for success)
- Small pots or containers for planting
- High-quality potting soil or a specialized rooting medium (because your cuttings deserve the best)
- A clear plastic bag or propagator to create a humid environment (think of it as a spa day for your cuttings)
- Watering can or spray bottle
And don’t forget to sterilize your tools! Use rubbing alcohol or a bleach solution to keep things clean and disease-free. Believe me, your plants will be grateful.
3. Taking and Preparing Cuttings
How to Take Rose Cuttings
Taking cuttings isn’t rocket science, but it does require a bit of finesse. Follow these steps, and you’ll be on your way to rose propagation glory:
- Choose the right stem: Find a healthy stem about 6 to 8 inches long with three to four leaves.
- Make the cut: With your sharp, sterilized shears, cut the stem at a 45-degree angle just below a leaf node. Imagine you’re giving the stem a trendy new haircut.
- Remove lower leaves: Gently remove the lower leaves, leaving only the top two or three. This helps retain moisture and promotes the growth of roots.
- Trim the cutting: Trim the bottom of the cutting just below a node. You can also make a small vertical cut at the bottom to expose more cambium layer, which can help with rooting. It’s like giving your cutting a little extra boost.
Preparing Cuttings for Planting
Now that you’ve got your cuttings, it’s time to get them ready for their new life:
- Dip in rooting hormone: Dipping the cut end in rooting hormone can significantly improve your chances of success. It’s like giving your cuttings a power-up.
- Prepare the pots: Fill small pots with a high-quality potting mix or specialized rooting medium. Make sure it’s well-draining to avoid turning your cuttings into soggy messes.
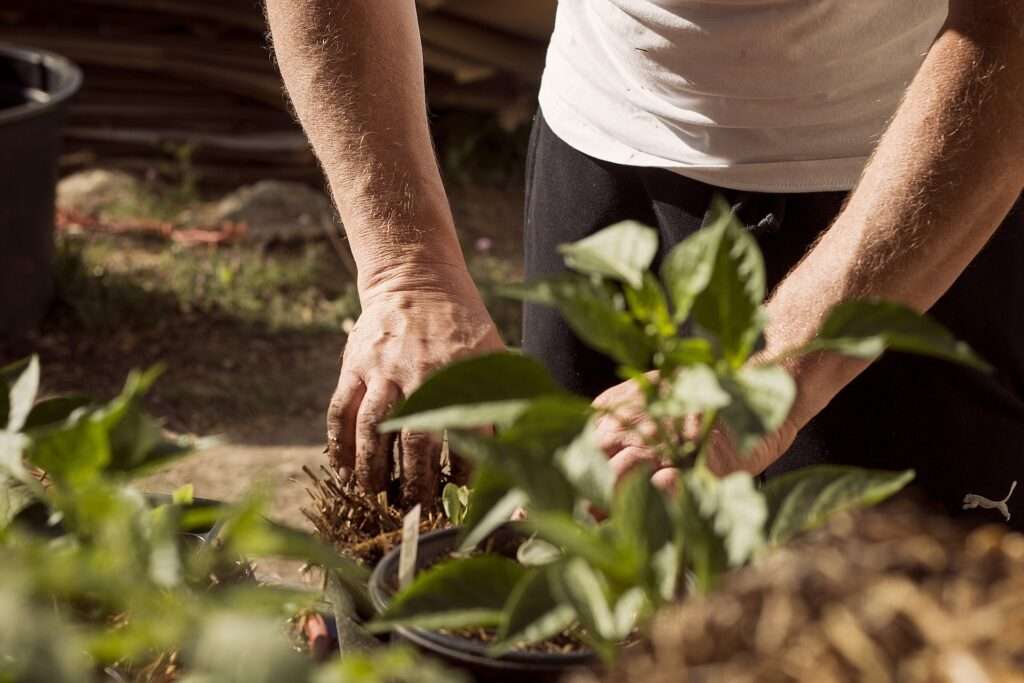
- Plant the cuttings: Create a hole in the potting mix with a pencil or your finger and insert the cutting about 2 inches deep. Press the soil firmly around the cutting to hold it in place.
- Create a humid environment: Cover the pot with a clear plastic bag to create a mini-greenhouse effect. This keeps things humid and cozy for your cutting. Use small stakes to keep the plastic from touching the leaves if necessary.
4. Planting Rose Cuttings
Choosing the Right Medium
The success of your cuttings largely depends on the medium you choose. It’s like picking the right mattress—too hard or too soft, and it’s a no-go. Here are some options:
- Potting soil: A high-quality potting mix works well for most rose cuttings. Ensure it’s light and well-draining.
- Perlite or vermiculite: These materials provide excellent drainage and aeration, reducing the risk of rot.
- A mix of sand and peat moss: This combo offers good drainage and moisture retention.
Avoid garden soil as it can be too dense and may harbor nasty pathogens that could harm your precious cuttings.
Step-by-Step Planting Guide
Here’s how to plant your cuttings like a pro:
- Prepare the pots: Fill small pots with your chosen medium, leaving about an inch of space at the top.
- Moisten the medium: Lightly water the medium to ensure it’s evenly moist but not soggy. You want it to feel like a well-wrung sponge.
- Insert the cuttings: Make a hole in the medium with a pencil or your finger and insert the cutting about 2 inches deep. Compress the soil surrounding the cutting to ensure it is firmly in place.
- Label the pots: If you’re propagating multiple varieties, label each pot to keep track of them. You don’t want to mix up your future rose superstars.
- Cover with plastic: Place a clear plastic bag over the pots to create a humid environment. Ensure the bag doesn’t touch the leaves by using small stakes.
5. Caring for Rose Cuttings
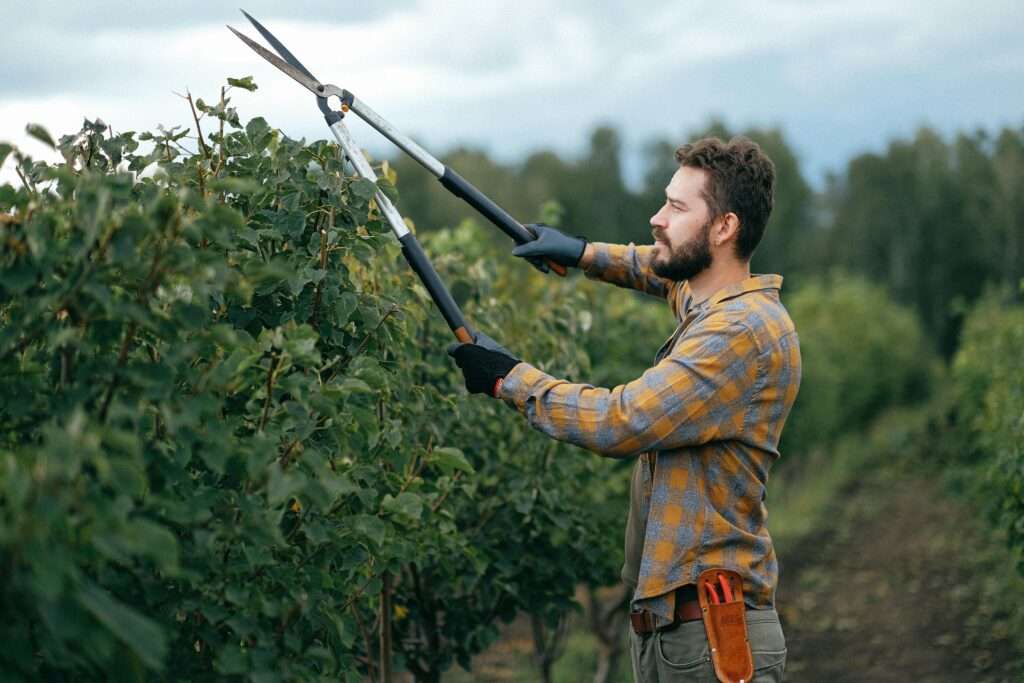
Watering and Humidity
Proper moisture and humidity are key to success:
- Watering: Keep the soil consistently moist but not waterlogged. Use a spray bottle to mist the cuttings regularly, ensuring the soil stays damp without becoming soggy. Think of it as giving your cuttings a gentle spritz of love.
- Humidity: The plastic bag or propagator helps maintain high humidity levels, essential for rooting. Check the cuttings daily and mist them if needed to keep the humidity up. It’s like running a spa for your plants.
Light and Temperature
Your cuttings need the right balance of light and temperature to thrive:
- Light: Place the cuttings in bright, indirect light. Direct sunlight can be too harsh and may cause the cuttings to dry out. They like the bright shade, just like your cousin at the beach.
- Temperature: Keep the temperature steady between 70-75°F (21-24°C). Avoid drafty or cold areas. Your cuttings prefer a cozy environment—think of it as their little vacation home.
6. Monitoring Growth and Development
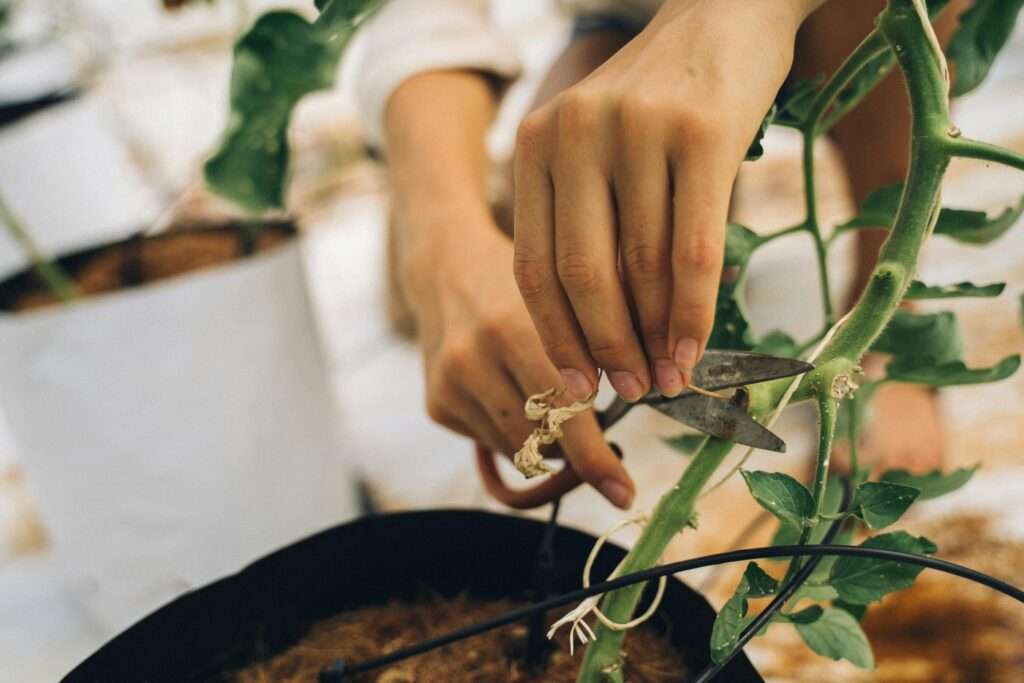
Signs of Successful Rooting
Rooting can take several weeks, so be patient and keep an eye out for these signs:
- New growth: The emergence of new leaves or shoots is a positive sign that your cutting is taking root. It’s like seeing the first sprouts of your labor!
- Resistance to gentle tugging: After a few weeks, gently tug on the cutting. Encountering resistance indicates that roots have taken hold. Just don’t tug too hard—it’s not a game of tug-of-war.
Troubleshooting Common Issues
Despite your best efforts, you may encounter some difficulties. Here are a few typical problems and strategies to overcome them:
- Wilting or yellowing leaves: This could be a sign of overwatering or insufficient humidity. Adjust your watering schedule and ensure the plastic bag is maintaining the right humidity.
- Rotting cuttings: Overwatering or a dense medium can cause rot. Ensure proper drainage and reduce watering if necessary.
- No signs of rooting: Some cuttings take longer to root. Be patient and maintain the right conditions. If all else fails, try a different batch of cuttings. Even the best gardeners have off days!
7. Transplanting and Long-Term Care
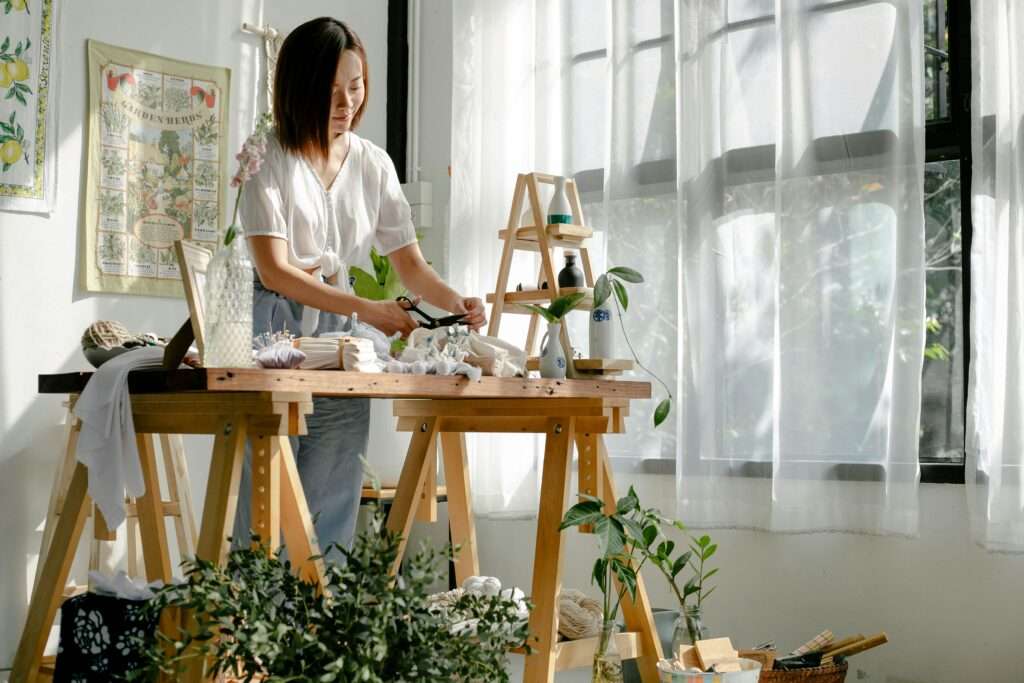
When and How to Transplant
Once your cuttings have developed strong roots, it’s time to move them to their forever home:
- Choose the right time: The best time to transplant is in the early morning or late afternoon when temperatures are cooler. Think of it like scheduling a spa appointment for your plants.
- Prepare the planting site: Select a spot with well-draining soil and plenty of sunlight. Dig a hole twice as wide and deep as the root ball of your cutting. It’s like giving your cutting its own personal penthouse suite.
- Transplant the cutting: Gently remove the cutting from its pot, keeping the root ball intact. Place it in the prepared hole and fill it with soil, patting it gently around the base. Your cutting is moving on up!
- Water thoroughly: Give your newly transplanted rose a good drink of water to help it settle into its new digs. It’s like welcoming a new roommate—you want to make them feel at home.
Ongoing Care for Young Roses
Your freshly transplanted roses need a little extra TLC:
- Watering: Maintain a steady level of moisture in the soil, particularly during the initial weeks following transplantation. Water deeply to encourage those roots to stretch out and get comfy.
- Mulching: Spread a layer of mulch around the base to keep the soil moist and prevent pesky weeds from crashing the garden party.
- Feeding: Once your roses have settled in, start feeding them with a balanced fertilizer to keep them growing strong and healthy.
- Pruning: Don’t forget to prune your young rose plants to remove any dead or unruly growth. It’s like giving them a haircut—just a little trim to keep them looking sharp.
Conclusion
Congratulations, you’ve now unlocked the secrets to growing roses from cuttings like a true gardening guru! With these expert tips and a sprinkle of plant magic, you’re well on your way to creating a garden full of beautiful, fragrant roses that will make your neighbors swoon (and maybe even ask for gardening tips). So grab your pruners, don your gardening gloves, and embark on this blooming adventure. Your roses are waiting to dazzle the world!
If you want you can Learn more about – how to grow roses from cuttings
Now, wasn’t that a bouquet of fun and knowledge? Growing roses from cuttings doesn’t have to be all thorns and seriousness—after all, gardening should always come with a healthy dose of laughter and joy. Happy gardening!
Can I grow roses from cuttings if I’m a beginner gardener?
Absolutely! Growing roses from cuttings is a great way to start your gardening journey. It’s simpler than you might think, and with the right guidance (like the tips in this article), you’ll be propagating roses like a pro in no time.
When is the best time to take rose cuttings?
Late spring or early summer is the optimal period for taking rose cuttings, as this is when the plant is in its peak growth phase. This is when the stems are most flexible and have the highest chance of successful rooting.
Do I need to use rooting hormone when propagating roses from cuttings?
While it’s optional, using rooting hormone can significantly increase your success rate. Rooting hormone stimulates root growth and helps protect the cutting from fungal infections, giving it a better chance of developing into a healthy plant.
How long does it take for rose cuttings to root?
Rooting time can vary, but generally, it takes about 4-6 weeks for rose cuttings to develop roots. It’s important to be patient and maintain the right conditions (like proper humidity and moisture) during this period.
What should I do once my rose cuttings have rooted?
Once your rose cuttings have rooted and developed strong roots, you can transplant them into their permanent location in your garden. Follow the transplanting tips mentioned in the article to ensure a successful transition for your new roses.


